Essential RV Maintenance Tips: The Ultimate Seasonal Guide
After 7 years of RV ownership and one expensive engine rebuild that could have been avoided, I've learned that consistent maintenance is the key to enjoying worry-free RV adventures. This guide shares everything I wish I'd known from day one.
In this maintenance guide:
Seasonal Maintenance Checklists
Spring Checklist
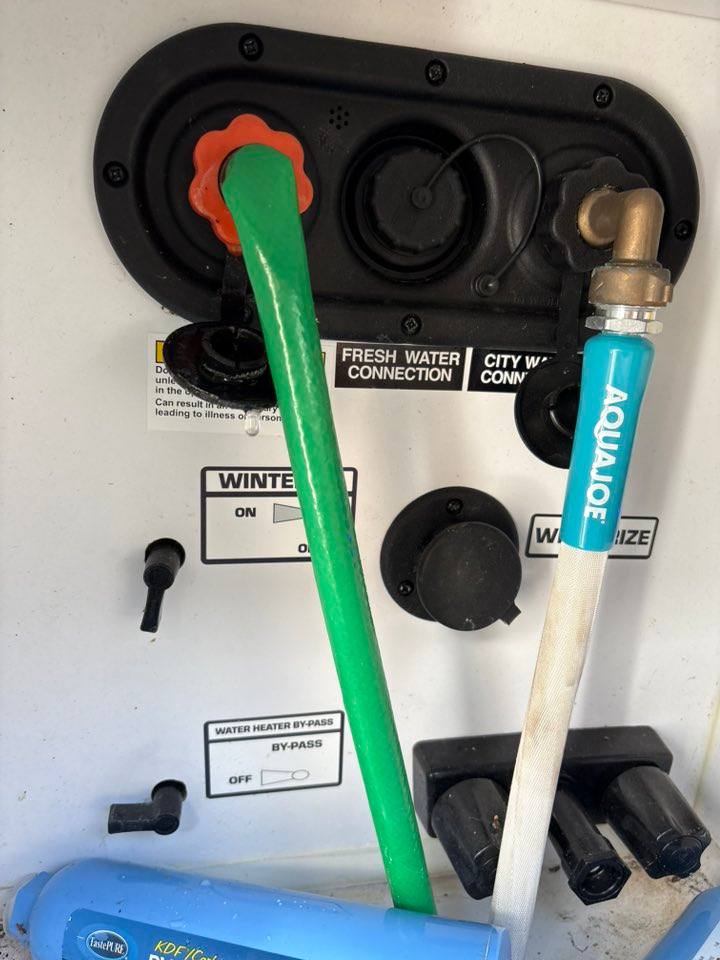
De-winterize and prepare for the travel season with these essential checks:
- ✓ Water System: Flush antifreeze, sanitize fresh water tank, check for leaks
- ✓ Battery: Clean terminals, check water levels, test charge capacity
- ✓ Tires: Check pressure, inspect for cracks, check manufacturing date
- ✓ Roof: Inspect seams and seals, clean, apply treatment if needed
- ✓ Appliances: Test all appliances, check propane system for leaks
- ✓ Awning: Clean, inspect for tears or mold, lubricate moving parts
Summer Checklist
Keep your RV running smoothly during peak travel season:
- ✓ A/C System: Clean filters, check for proper cooling
- ✓ Slide-Outs: Clean and lubricate, inspect seals
- ✓ Generator: Run under load, change oil if needed
- ✓ Window Seals: Inspect for cracks, re-seal if necessary
- ✓ Roof: Check for UV damage, apply protectant
- ✓ Fluids: Check engine oil, transmission, brake fluid (motorhomes)
Fall Checklist
Prepare for cooler weather and less frequent use:
- ✓ Furnace: Test operation, clean vents and replace filters
- ✓ Seals & Gaskets: Apply protectant to prevent cracking
- ✓ Water Heater: Flush tank, check anode rod (if applicable)
- ✓ Roof: Check all seams and seals before winter
- ✓ Chassis: Lubricate moving parts as needed
- ✓ Batteries: Check charge levels, clean connections

Winter Checklist
Proper winterization to prevent freeze damage:
- ✓ Water System: Drain tanks, blow out lines, add antifreeze
- ✓ Battery: Remove and store in climate-controlled space
- ✓ Interior: Remove food, prop refrigerator door open
- ✓ Fuel: Add stabilizer if storing more than 30 days
- ✓ Tires: Cover or remove to prevent UV damage
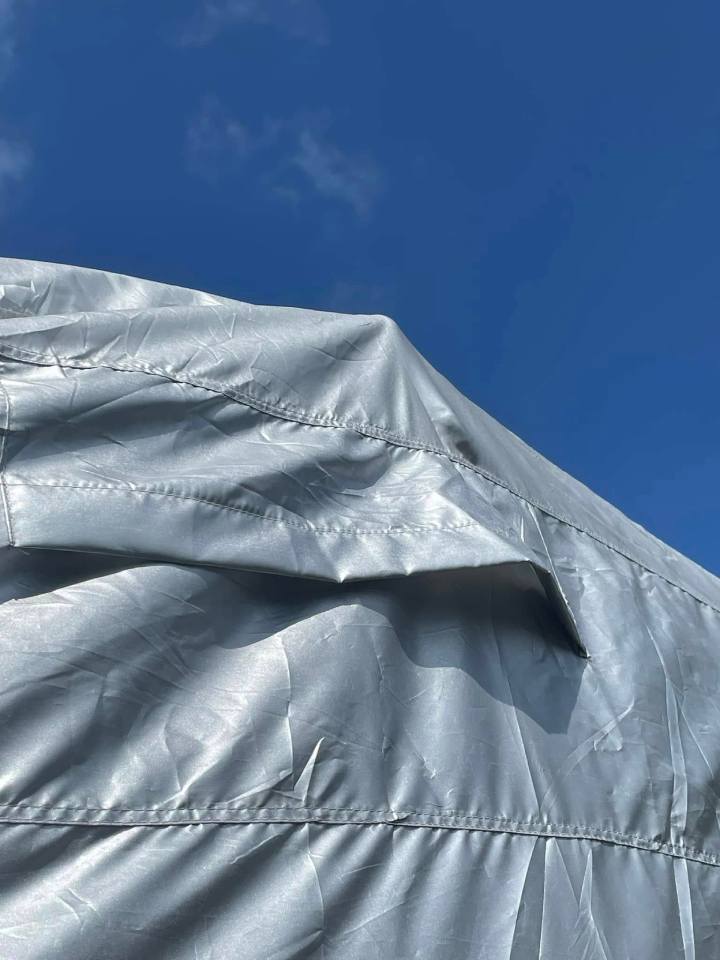
- ✓ Cover: Use breathable RV cover if storing outdoors
Pro Tip: Create a digital maintenance log with photos. This helps track maintenance history and can increase resale value. I use a simple spreadsheet with dates and photos of completed work.
DIY Maintenance Tasks
Save hundreds of dollars by handling these simple maintenance tasks yourself:
Sanitizing Water System
Steps:
- Mix ¼ cup bleach per 15 gallons of water
- Fill fresh water tank with solution
- Run water through all faucets until you smell bleach
- Let sit for 12 hours
- Drain system completely
- Refill with fresh water and flush until bleach smell is gone
I do this every spring and after long periods of non-use. Don't skip this—I once had algae growth that required professional cleaning!
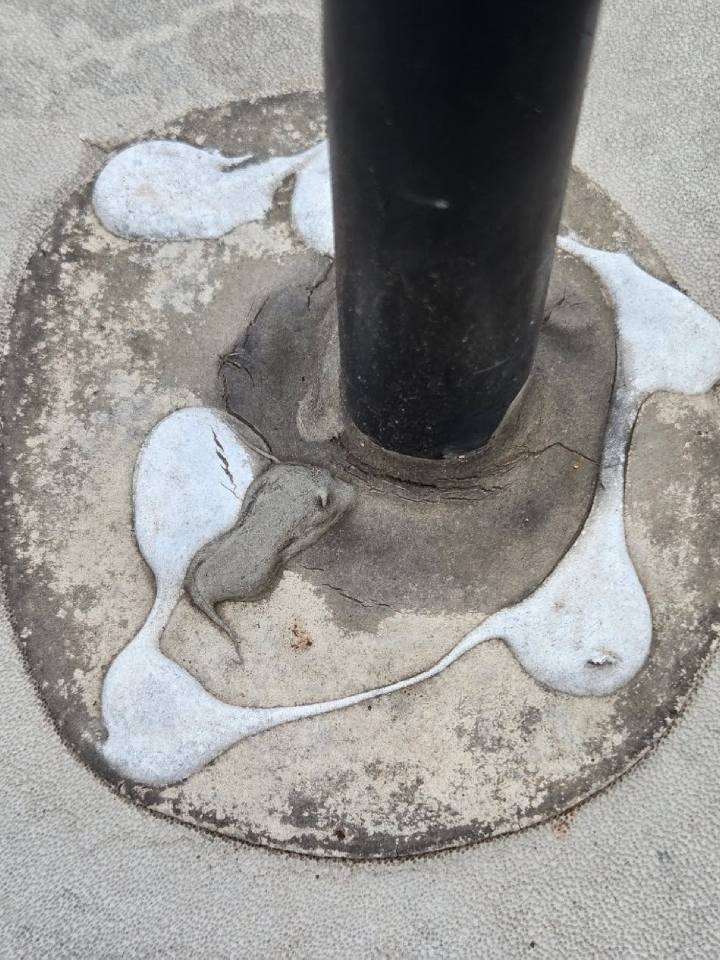
Inspecting & Resealing Roof Seams
Steps:
- Clean roof thoroughly
- Inspect all seams, vents, and attachments
- Remove any cracked or peeling sealant
- Apply appropriate sealant to compromised areas
- Allow proper curing time
- Document with photos for future reference
Use the correct sealant for your roof type (EPDM, TPO, fiberglass). This simple maintenance prevented a $3,000 water damage repair for me last year.
Battery Maintenance
Steps:
- Disconnect batteries (negative terminal first)
- Clean terminals with baking soda solution
- Check water levels in non-sealed batteries
- Add distilled water if needed
- Apply terminal protector
- Reconnect batteries (positive terminal first)
I do this quarterly. Regular maintenance has extended my battery life to 5+ years versus the typical 3-year lifespan.
Slide-Out Maintenance
Steps:
- Clean slide tracks of debris
- Inspect rubber seals for damage
- Apply silicone lubricant to slide mechanisms
- Apply rubber seal conditioner
- Operate slides to distribute lubricant
- Check for proper alignment
Every 3 months or 5,000 miles, whichever comes first. Never use WD-40 on rubber seals—it causes deterioration!
When to Call a Professional
Some maintenance tasks are best left to certified RV technicians. Here's when to seek professional help:
Electrical System Issues
- ⚠️ Complex converter or inverter problems
- ⚠️ Recurring electrical shorts
- ⚠️ Generator repair or replacement
- ⚠️ Solar system installation
Why: Improper electrical work can create fire hazards and void warranty coverage.
Propane System Service
- ⚠️ Gas line repairs or modifications
- ⚠️ Regulator replacement
- ⚠️ Leak testing after any propane work
- ⚠️ Gas appliance installation
Why: Propane is extremely dangerous if not properly handled—this is never a DIY project.
Engine/Chassis Services
- ⚠️ Engine diagnostics and repair
- ⚠️ Transmission service
- ⚠️ Air brake system service
- ⚠️ Hydraulic leveling system repair
Why: Specialty tools and training are required; improper work risks safety and costly damage.
Structural Repairs
- ⚠️ Water damage restoration
- ⚠️ Frame or fiberglass repairs
- ⚠️ Slide-out mechanism failures
- ⚠️ Roof replacement
Why: Structural integrity affects safety and longevity; professional repair prevents further damage.
Finding a Good RV Tech: Look for RVTI (RV Technical Institute) certified technicians. The certification level (1-4) indicates their expertise. I've found that mobile RV techs often charge less than dealerships while providing excellent service.
Emergency Toolkit Essentials
Every RV should have these emergency repair items on board:
Basic Tools
- Screwdriver set (multi-bit)
- Adjustable wrench
- Pliers set
- Socket set
- Tire pressure gauge
- Flashlight & headlamp